Product photos are more than just visuals. They’re the driving force behind sales decisions. A clear, compelling image can turn a browser into a buyer.
Evidence backs this up. When the eyewear brand Peepers improved its product images, its conversions soared by 30%, proving that quality visuals make a significant difference.
But here’s the kicker: You don’t need deep pockets or a professional photographer to achieve such results. In this article, we’ll guide you through the steps of DIY product photography, offering tips, setup strategies, and handy app recommendations.
If boosting sales through better photos is your goal, you’re in the right place. Let’s get started.


What is product photography?
Product photography involves applying certain techniques to capture detailed and enticing pictures of your products. Your product images directly influence shoppers' decisions, potentially boosting your conversion rates and overall sales.
Equipment you need for professional product photography
For successful product photography, the right equipment is key. Even with a modest budget, you can create a product photography studio setup that delivers professional-grade results. Consider getting the following:
Camera
Choose a camera that fits your budget for product photography. Even a smartphone can work well, as modern phones capture high-resolution images perfect for editing. However, many professionals prefer DSLRs for their advanced settings and versatility. Some popular DSLR models include the Canon EOS Rebel T7i, the Nikon D5600, and the Sony Alpha A68. These cameras offer a range of manual controls and len options that can help you take your product photos to the next level.
Lens
Choosing the right lens is key for a good product photoshoot. If you’re shooting objects that are far away, a lens around 100 mm or more is perfect. But for product shots where you’re closer to what you’re photographing, you’ll want to use shorter lenses.
For most product shots, a 50 mm lens works well because it gives a clear, natural look without making things look weird or distorted. If you need to capture a larger area, a 20 mm lens can help get more into the frame. And if you need to focus on tiny details, a macro lens is great to have. Keeping different lenses handy means you can handle whatever the shoot throws at you.
Tripod
You’ll also want to spend a few hundred dollars on accessories that help you shoot better product photos. A crucial piece among these is a tripod. A tripod helps keep your camera stable, especially when you use settings that require a lot of precision (like a small aperture for a deep depth of field). No need to go all out—affordable tripods of around $30 to $50 can provide the stability you need.
White background
There are many options for a white background, and if you plan to do a lot of shooting, consider getting a white sweep. Paper sweeps are handy because when they get dirty, you can just trim off the soiled part and roll down a fresh section.
For a budget-friendly choice, head to your local drugstore or art store and pick up some poster board. You can usually find them for around $6 to $10 for 10 sheets. Make sure to choose pure white because it’s tough to correct off-white or cream backgrounds to pure white when editing.
White bounce cards made of foam board
When using window light for your photos, you’ll notice a bright side where the light hits the product and a shadow side that can get quite dark. To brighten up those shadows, you can use something white to reflect light back onto the darker areas. Foam board is perfect for this because it’s rigid and white, making it an excellent bounce card.
If you’re aiming for deeper shadows, especially when photographing a white product against a white background, try using black foam board. Place it just outside the frame, behind the product, to add a dark edge to the white item. For a more advanced lighting effect, combine a white bounce card at the front with black bounce cards behind the product.
Foam boards are available on Amazon or at your local drugstore. However, if you’re looking for a simpler solution, a sheet of white printer paper or a piece of poster board might also do the trick.
Table
For your product photography, it’s best to use a standard folding table. Look for one that’s about 24 to 27 inches wide. This dimension is ideal because it provides enough surface area to arrange your products, while still being narrow enough to fit into smaller spaces or backdrops easily.
Tape
To keep the setup stable, have tape or clamps on hand. These help hold backgrounds or other elements firmly in place.
The right room
Natural lighting does wonders for product photography. Find a room with a window close to a wall. If the window is large, you’ll have plenty of light to work with. You can control the lighting and shadow effects in your photos by adjusting your distance from the window.
How to take good product photos: 15 tips for ecommerce entrepreneurs
When it comes to product photography, there are a lot of tips that new entrepreneurs can use to improve their store. We list some of the top product photography tips for new entrepreneurs below.
Let’s get started
1. Adjust your camera settings
Getting your camera ready for the best shots doesn’t need to be complex. Here’s a breakdown:
- White balance: Think of this as adjusting the “color temperature.” Set it to Auto so the camera decides the best setting for you. It’ll help your photos look natural in different lighting.
- Flash: Turn it off, especially if you’re indoors. Natural light often works best.
- Image quality: Choose RAW if you can. It captures all image data, making edits easier later on. If you don’t see RAW, pick the highest JPG setting. Think of JPG as a compressed image type—the higher the setting, the clearer the picture.
- Size and quality: Go for Large size and Superfine quality. This ensures you get detailed and sharp photos.
- ISO: This affects how sensitive your camera is to light. A lower number like 100 means less sensitivity and clearer photos, especially in bright conditions.
-
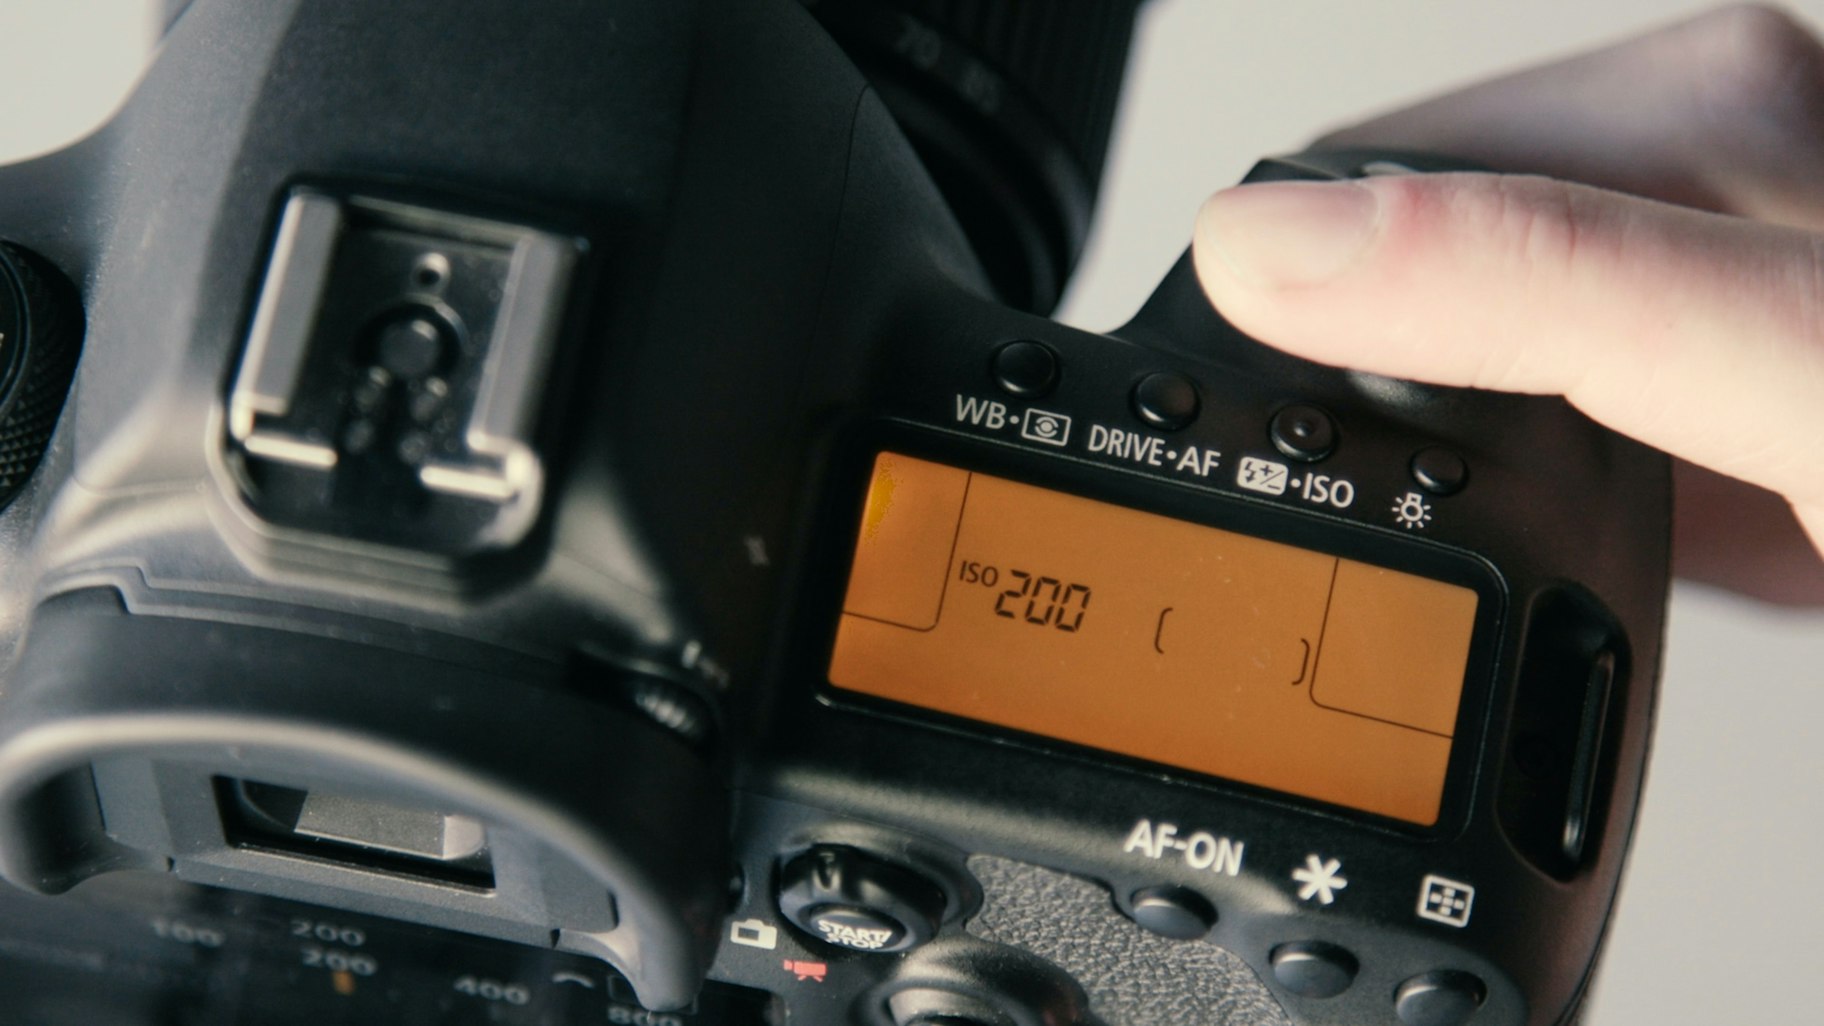

If you want more control over your photos, the Manual mode lets you adjust focus and brightness yourself. But if Manual seems challenging, there’s also aperture priority, which lets you make some adjustments while the camera manages the rest.
2. Maximize natural light for clear, authentic shots
Place your table close to a window, avoiding windowsill shadows. This positioning offers soft, natural light from the window. Turn off other lights in the room to maintain clean lighting. Experiment by adjusting your setup’s angle to the window or use an open garage door for a similar lighting effect. Avoid letting direct sunlight hit your subjects. When arranging your backdrop, create a smooth curve from the table to the wall. Secure it well. Center your subject on this backdrop and ensure there’s space for reflectors, if needed.
3. Shoot products photos on white background
You can use an infinity cove to create a seamless background. An infinity cove is a curved, all-white space that gives the background the appearance that it goes on forever. You can also use a photo editing app to remove the image background and have a standard white background for your product photos. A plain white background works well for standard product photos.

4. Use a flash diffuser
A flash diffuser is an accessory that helps spread the light out to avoid hard product photography lighting. One of the best product photography techniques, using a flash diffuser can help ensure that your product photography is well lit.
Good diffusers:
- Help illuminate a product or person without a washed-out look
- Create a more natural light look that makes pictures look better
When it comes to using the camera’s built-in flash and a flash diffuser, your best bet is almost always a diffuser.
5. Use a bokeh background for lifestyle photos

If you’re looking to create cool backgrounds for your products, bokeh is an example of a simple and popular style. Bokeh is a blur effect done by a specific type of lens. DIY photography offers a step-by-step guide on how to create an “el bokeh wall” with the help of tin foil, prime lens, and product photography lighting. You can use this background for a social media image or banner image on your website.
6. Have images for all product styles
Every style or color of a product on your site should have a visual representation. Consider this: A customer visits your online store, ready to shop. But there’s no image for the specific product variant they desire. Such gaps can deter purchases. If your item comes in multiple shades or designs, display them all. Many shoppers rely on these visuals to make their buying decision. Providing a complete picture enhances trust and can lead to better sales.
7. Plan colors and composition ahead of time
When doing a photo shoot, think about your composition. Snap quick previews of setups using your smartphone—it’s a straightforward way to envision the final look. Remember, many customers will see products on ecommerce platforms, so your arrangement should translate well there. Finally, choose colors that represent the brand’s identity. For an organic product range, for instance, earthy tones can highlight its natural connection.
8. Use a Macro setting to capture the finer details

When selling detailed products, like jewelry, the camera’s Macro setting is your secret weapon. This setting zooms in closely, highlighting those tiny yet significant details. It’s a boon for buyers: they see every aspect clearly, fostering trust in what they’re about to purchase.
To make the most of Macro:
- Light it right: Soft, even lighting showcases details without casting shadows.
- Focus manually: This lets you pinpoint the exact detail you want to highlight.
- Tweak aperture: Adjusting this blurs the background, making your product pop.
- Play with angles: Turn, tilt, experiment. Discover the best perspective for your product.
9. Take note of the lighting in your photos
When it comes to product photography lighting, you can choose from soft light or hard light. Soft light means that there’s more light surrounding the product, whereas hard light means the light surface is smaller. The distance of the light also plays a role with closer light leading to a harder light look. Ultimately, how do you want your product to look? For example, a spotlight on a product would be a hard light.
Pro tip: Avoid using different types of light in an image. For example, don’t use artificial light with sunlight. Overall, the image will look better when there’s only one source of light.
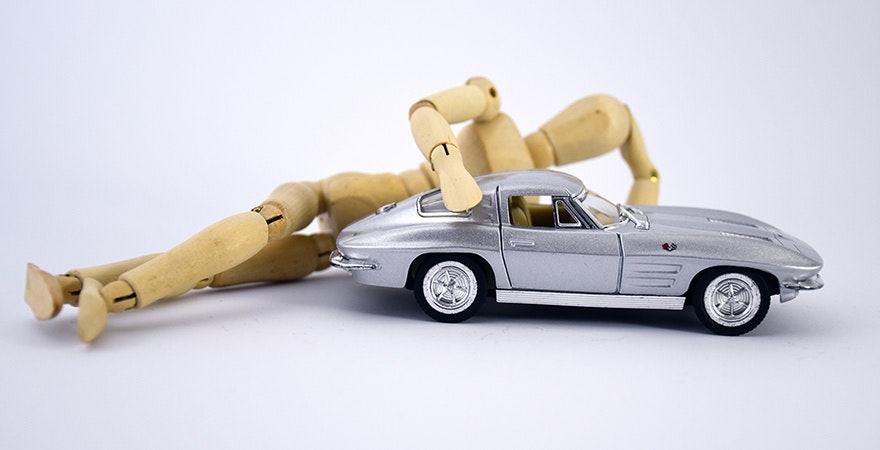
10. Include something to help show scale

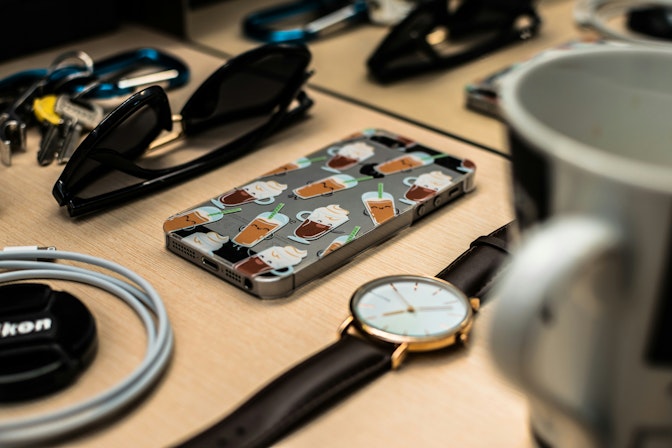
Oftentimes, your customers will want to know how big your product is. Although most product descriptions will contain detailed measurements of the product, this isn’t always easily interpretable. This is where having something common in the picture can help. Any everyday item that everyone owns can help your customer work out how big the product is. When setting up your product picture, try placing your product next to a mug, a book, or a pen. This will help them visualize themselves with your product, and better imagine it in their lives.
11. Organize products in a proper manner
If you intend to show multiple items in your product photographs, it is important to set everything in an organized manner. Having all the pieces of an item in a set piled haphazardly will not look appealing, but neither will spacing everything out too far apart. Generally, the most appealing way to showcase your products is with carefully planned gaps between each item. This gives each piece a clear view while showing the set as a whole.
12. Shoot multiple angles
Different angles reveal different aspects of a product, so it’s important to capture multiple perspectives. Some shoppers prefer close-ups, while others appreciate a direct view. Offering a variety of views helps customers imagine using your product, which can drive sales.
Consider these angles:
- Eye level: View the product straight on.
- High angle: Look down at the product.
- Low angle: Look up at the product.
- Bird’s eye: See the product from directly above.
To keep your shots consistent, stabilize your camera and tripod. Then, simply rotate the product to explore different angles. This method ensures each photo maintains a similar frame, which simplifies the editing process later on.
13. Capture different types of product images
Diversifying your product photography is beneficial. Don’t just stick to shots with white backgrounds. As you gain more confidence with the camera, consider exploring other engaging styles like:
Lifestyle shots
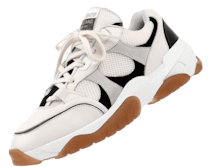
Lifestyle photos show your product in everyday settings. For example, hiking boots on a trail or clothing at a city event. Allbirds is a brand that combines white background photos with lifestyle ones, helping shoppers see its products in real-life scenarios.

Detailed shots
These are close-ups that highlight specific features of a product. The leather retailer hardgraft, for example, focuses on zippers, handles, and other unique aspects of their items.

Group shots
Display products together, especially when promoting bundles or kits. Beardbrand, for instance, uses group photos to showcase multiple products in their collections.

By using a mix of these photography styles, you provide shoppers with a comprehensive view of your products.
14. Edit and retouch all your images
The work doesn’t end when the pictures are taken. You’ll still need to use photo editing software to enhance your images. Whether you’re adding effects, enhancing color, or removing the background from an image, you’ll need to do some form of editing after you’ve shot your product photography. The post-production work is just as important as the process of taking an image. You want to showcase your product in the best light, and with minor image edits you’ll be more likely to sell your product.
15. Optimize images for SEO

SEO success requires fast website loading, and bulky images can slow it down. Balancing image quality with optimization is key. Ideally, keep images under 200 kilobytes without sacrificing clarity.
Image optimization steps:
- Understand container sizes: Images adapt to fit their HTML container on websites. If the site displays an image at 648 pixels but references a 1500-pixel image, it still loads the larger size. This affects speed.
- Determine container size: Use browser tools to inspect site elements and find the container size. For sharpness on all screens, aim for images about 1.5 times the container size, i.e., about 972 pixels square for a 648-pixel container.
- Resize efficiently: Use tools like Mac Preview or Microsoft Picture. Once resized, save as a 100% quality JPEG.
- Compress: After saving, the file might remain large. Use smart compression tools like Photoshop’s “Save For Web” or JPEGmini.
Shopify apps for product photography
Photo Resize helps ensure that all your product photos are square and resizes product images. The first 400 images on your store are free, which is great for new entrepreneurs. This is an awesome tool for store owners whose images are showing up in different sizes on their website.
Retail Ready Photos is an image editing service where your product photography will be touched up. It can also remove your image’s background for a traditional white background. For solopreneurs, this service can help you save time and money. Images are delivered within 24 hours, making it one of the most efficient services for image editing.
Hiring a professional product photographer
Crafting your own product images is possible, but there’s an unmistakable edge that comes with a professional touch. Pro photographers not only have advanced equipment, but the expertise to bring out the best in your products.
Consistent visuals, achieved by working with the same photographer, reinforce brand identity, which can resonate with customers. When seeking a pro, consider platforms like Sweetescape to discover talent nearby.
Getting started with product photography
That’s it. You now know how to take amazing product photos for your store. Remember, the perception of your online brand is often developed on the quality of your visual appearance. Use this DIY product photography tutorial to shoot images that increase people’s trust and loyalty in your business.
Product photography FAQ
What are product only images?
Product only images are photos that focus solely on the product without any other distractions. Typically used for listings on websites like eBay or Shopify, these pictures often have a plain white background. This style highlights the product’s size, shape, and color, making it easier for shoppers to see all the details and decide if it’s what they need.
What do you need for a product photography setup?
- Camera
- Tripod
- Table
- White background
- Tape
- White bounce cards
- Room with window lighting
How do you shoot product photos?
- Adjust your camera
- Set up your table
- Put your product in place
- Adjust your sweep
- Set up the reflector card
- Take the photo and assess the result
- Touch up the image
- Optimize the image for your site
How can I shoot product photography at home?
- Get gear and equipment
- Set up your photo studio
- Take product shots
- Use white bounce cards
- Edit photos online
- Add them to your website
Want to learn more?